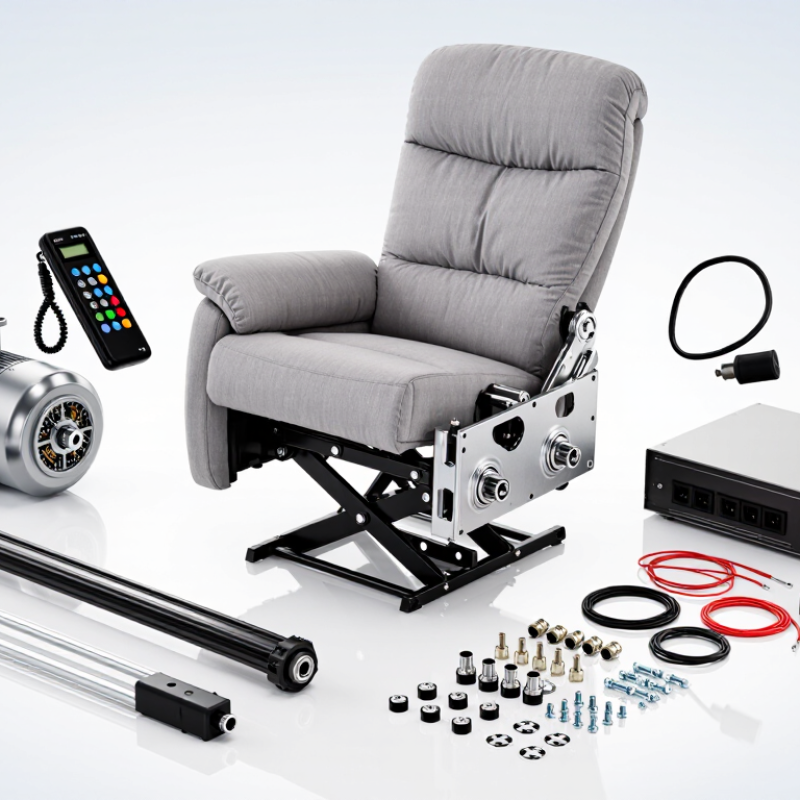
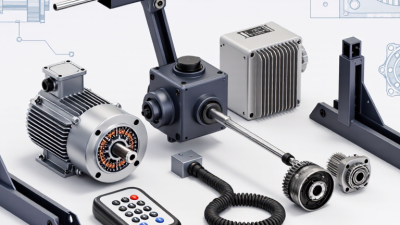
A lift chair may look like one piece of furniture, but its movement depends on several connected components. The motor, actuator, hand control, power supply, wiring, and lifting mechanism each play a distinct role. Small details matter. A loose connector can interrupt operation, while a worn hand control may make adjustments unreliable. The problem is not always the part that seems most obvious.
This guide introduces ten lift chair parts buyers should understand before choosing a replacement or spare. It explains what common components do, what signs of wear to notice, and which details to compare, such as model numbers, connector shapes, and weight ratings. These checks can help prevent ordering a part that looks right but does not fit. Still, a symptom alone cannot confirm which component has failed. Check the chair’s documentation, and contact the manufacturer or a qualified technician when compatibility or diagnosis is uncertain. Unplug the chair before inspecting accessible connections, and do not open electrical components unless you are qualified to do so. Parts vary by model. That fact is easy to overlook, especially when product photos show similar designs. Use the list as a practical starting point, not a substitute for model-specific guidance.
Top 10 Lift Chair Parts Buyers Need to Know
A lift chair’s frame and base carry the user through sitting, reclining, and standing—not just while seated. A 300–500 lb capacity equals roughly 1,334–2,224 newtons of force, using NIST’s conversion factor of 1 pound-force to 4.44822 newtons (NIST Special Publication 811). The rating should apply to the complete chair, including its base, fasteners, lifting mechanism, and moving joints. A thick-looking steel tube alone proves little. Check the manufacturer’s stated user-weight limit and whether testing covers the chair in its raised position, when leverage and load distribution change.
Look for reinforced crossmembers, securely fastened joints, and a broad, stable base. Ask what test method supports the capacity claim, and whether repeated operation under load was assessed. ANSI/BIFMA X5.4, Public and Lounge Seating, provides useful seating-test context, but it is not, by itself, a lift-chair capacity certification. Powered furniture safety standards, such as UL 962, address different hazards and should not be treated as proof of a specific weight rating. Details matter. A chair can feel solid on a showroom floor yet flex near a joint after repeated use; that is worth questioning. Capacity figures are helpful, but the test scope and chair position behind them matter just as much.
A lift actuator turns electrical power into the movement that raises or reclines a chair. Its thrust rating describes the pushing force it can deliver, usually measured in pounds or newtons. The required force depends on the chair’s geometry, the user’s weight, and how the load is distributed. A higher rating is not automatically better; an oversized actuator may not fit or match the chair’s control system. Check the label.
Stroke length is the distance the actuator rod travels between its retracted and extended positions. Too little stroke can limit how far the chair moves, while too much may cause a linkage to bind or hit its stop. Compare the replacement actuator’s mounting points and closed length with the original, not just its advertised travel. Small differences matter. Measure carefully, and confirm the chair’s manual or parts documentation before ordering.
Duty cycle indicates how long an actuator can operate before it needs a rest. A chair that moves occasionally may need less operating time than one used frequently throughout the day. Check the specified run time and rest period, and avoid assuming that similar-looking actuators have similar limits. This specification is easy to overlook when comparing prices. It is not always obvious from a quick inspection, so verify it with reliable product documentation.
Compare these representative lift-actuator configurations as a starting point. Actual specifications vary by design; confirm the actuator’s rated load, travel, operating limits, and compatibility with the chair.
| No. | Actuator Profile | Rated Thrust | Stroke Length | Typical Duty Cycle | Typical No-Load Speed | Buyer Checks |
|---|---|---|---|---|---|---|
| 1 | Compact, short-travel configuration | 2,000 N | 100 mm | 10% | Approximately 8–12 mm/s | Check that the linkage provides sufficient mechanical advantage and that the actuator clears the frame throughout its travel. |
| 2 | Compact, moderate-travel configuration | 3,000 N | 150 mm | 10% | Approximately 6–10 mm/s | Confirm mounting-hole spacing and retracted length, not just the stated stroke. |
| 3 | Standard single-actuator configuration | 4,000 N | 200 mm | 10% | Approximately 5–9 mm/s | Compare rated thrust under the expected load and geometry; do not treat thrust as the chair’s user weight limit. |
| 4 | Standard configuration with extended travel | 4,000 N | 250 mm | 10% | Approximately 4–8 mm/s | Longer stroke can increase overall actuator length. Verify the full-motion envelope and available installation space. |
| 5 | Higher-thrust standard configuration | 5,000 N | 200 mm | 10% | Approximately 4–7 mm/s | Ask for the duty-cycle conditions and thermal protection details; higher thrust alone does not ensure suitability. |
| 6 | High-thrust, moderate-travel configuration | 6,000 N | 250 mm | 10% | Approximately 3–6 mm/s | Check current draw at load and confirm that the control unit, wiring, and power supply are rated for it. |
| 7 | High-thrust, long-travel configuration | 6,000 N | 300 mm | 10% | Approximately 3–6 mm/s | Verify end-of-travel limits and whether the actuator includes limit switches or relies on the control system. |
| 8 | Extended-travel configuration | 5,000 N | 350 mm | 10% | Approximately 3–5 mm/s | Confirm that the longer stroke matches the chair’s intended movement and does not cause binding at either endpoint. |
| 9 | Heavy-duty, short-travel configuration | 8,000 N | 200 mm | 10% | Approximately 2–5 mm/s | Request test conditions for the thrust rating and check mounting strength, pin size, and frame loads. |
| 10 | Heavy-duty, extended-travel configuration | 8,000 N | 300 mm | 10% | Approximately 2–4 mm/s | Assess speed under load, retracted and extended dimensions, and compatibility with the chair’s control system. |
Selection note: A 10% duty cycle is a common actuator rating format, but its meaning depends on the manufacturer’s stated test conditions. Confirm the permitted operating and rest periods, rated thrust at the required speed, stroke, voltage, mounting dimensions, and applicable safety requirements before purchasing.
Top 10 Lift Chair Parts Buyers Need to Know
Hand Controls and Wiring: Distinguish Single- and Dual-Motor Systems
A hand control is more than a button panel; it must match the chair’s motor layout and connectors. In many single-motor systems, one actuator moves the footrest and backrest in a linked sequence. Dual-motor systems typically let users adjust those positions independently. That difference matters when replacing a handset: matching the plug alone may not ensure compatibility. Check the chair’s wiring diagram, actuator labels, and control specifications before ordering.
WHO’s 2021 report on healthy ageing projects that one in six people worldwide will be aged 60 or older by 2030. As more people seek practical support at home, clear controls matter. Look for tactile, easy-to-distinguish buttons and a cable that reaches the usual seated position without stretching. Button layouts vary, though; counting buttons is not a reliable way to identify motor type. Honestly, labels can be faded or missing, so a technician may need to trace the wiring.
Tips: Unplug the chair before inspecting connections. Photograph the existing plugs and wire routing, then compare them with the replacement instructions. Never force a connector into place. A small mismatch can leave a motor unresponsive—or cause confusing movement. WHO, Global Report on Ageism and Healthy Ageing, 2021.
A lift chair’s power supply should match the chair’s required output, not just fit its connector. Check the label or manual for a 24–29 V DC specification; the wall adapter’s input rating is a different figure. Some chairs operate at a particular voltage within that range, so do not assume every unit accepts the full range. Voltage alone can mislead. I still find that easy to overlook.
Inspect the adapter label, plug shape, polarity, and cable condition before ordering a replacement. A plug that slides in may still have the wrong polarity or output. Also compare the supply’s current rating with the chair’s requirements. An undersized adapter may struggle when the motor raises the chair, even if its voltage looks correct. Small detail. Big difference.
For battery backup, confirm the pack’s voltage and connector against the chair’s documentation. Backup batteries can differ in configuration, so matching only the total voltage may not be enough. Check for swelling, cracked casing, loose terminals, or damaged wires; stop using a visibly damaged pack. If specifications are missing, ask a qualified repair technician to verify compatibility rather than guessing. I would not test exposed wiring casually. A meter reading helps only when taken safely and interpreted correctly.
Lift-chair repairs often fail at the fit, not the part itself. AARP’s 2024 Home and Community Preferences Survey found that 75% of adults aged 50 and older want to remain in their homes as long as possible. The U.S. Census Bureau projected that one in five U.S. residents would be 65 or older by 2030.
These figures make repairability worth planning for, but they do not make parts interchangeable. Check the chair’s model and revision label before ordering upholstery, springs, or fasteners. Measure twice.
For upholstery, compare panel dimensions, seam positions, attachment style, and fabric stretch; a near match can wrinkle at the knee fold. A measurement can still miss stretch.
For springs, check free length, coil diameter, wire thickness, end shape, and mounting points against the removed part. Do not judge strength by appearance alone.
Record fastener diameter, thread pitch, length, and head style; a screw that catches once may still strip the frame hole. Small mismatch, big trouble.
Photograph parts before removal, and keep left and right pieces separate. When the original spring or frame attachment is unclear, have a qualified repairer verify the match before the chair is used again.